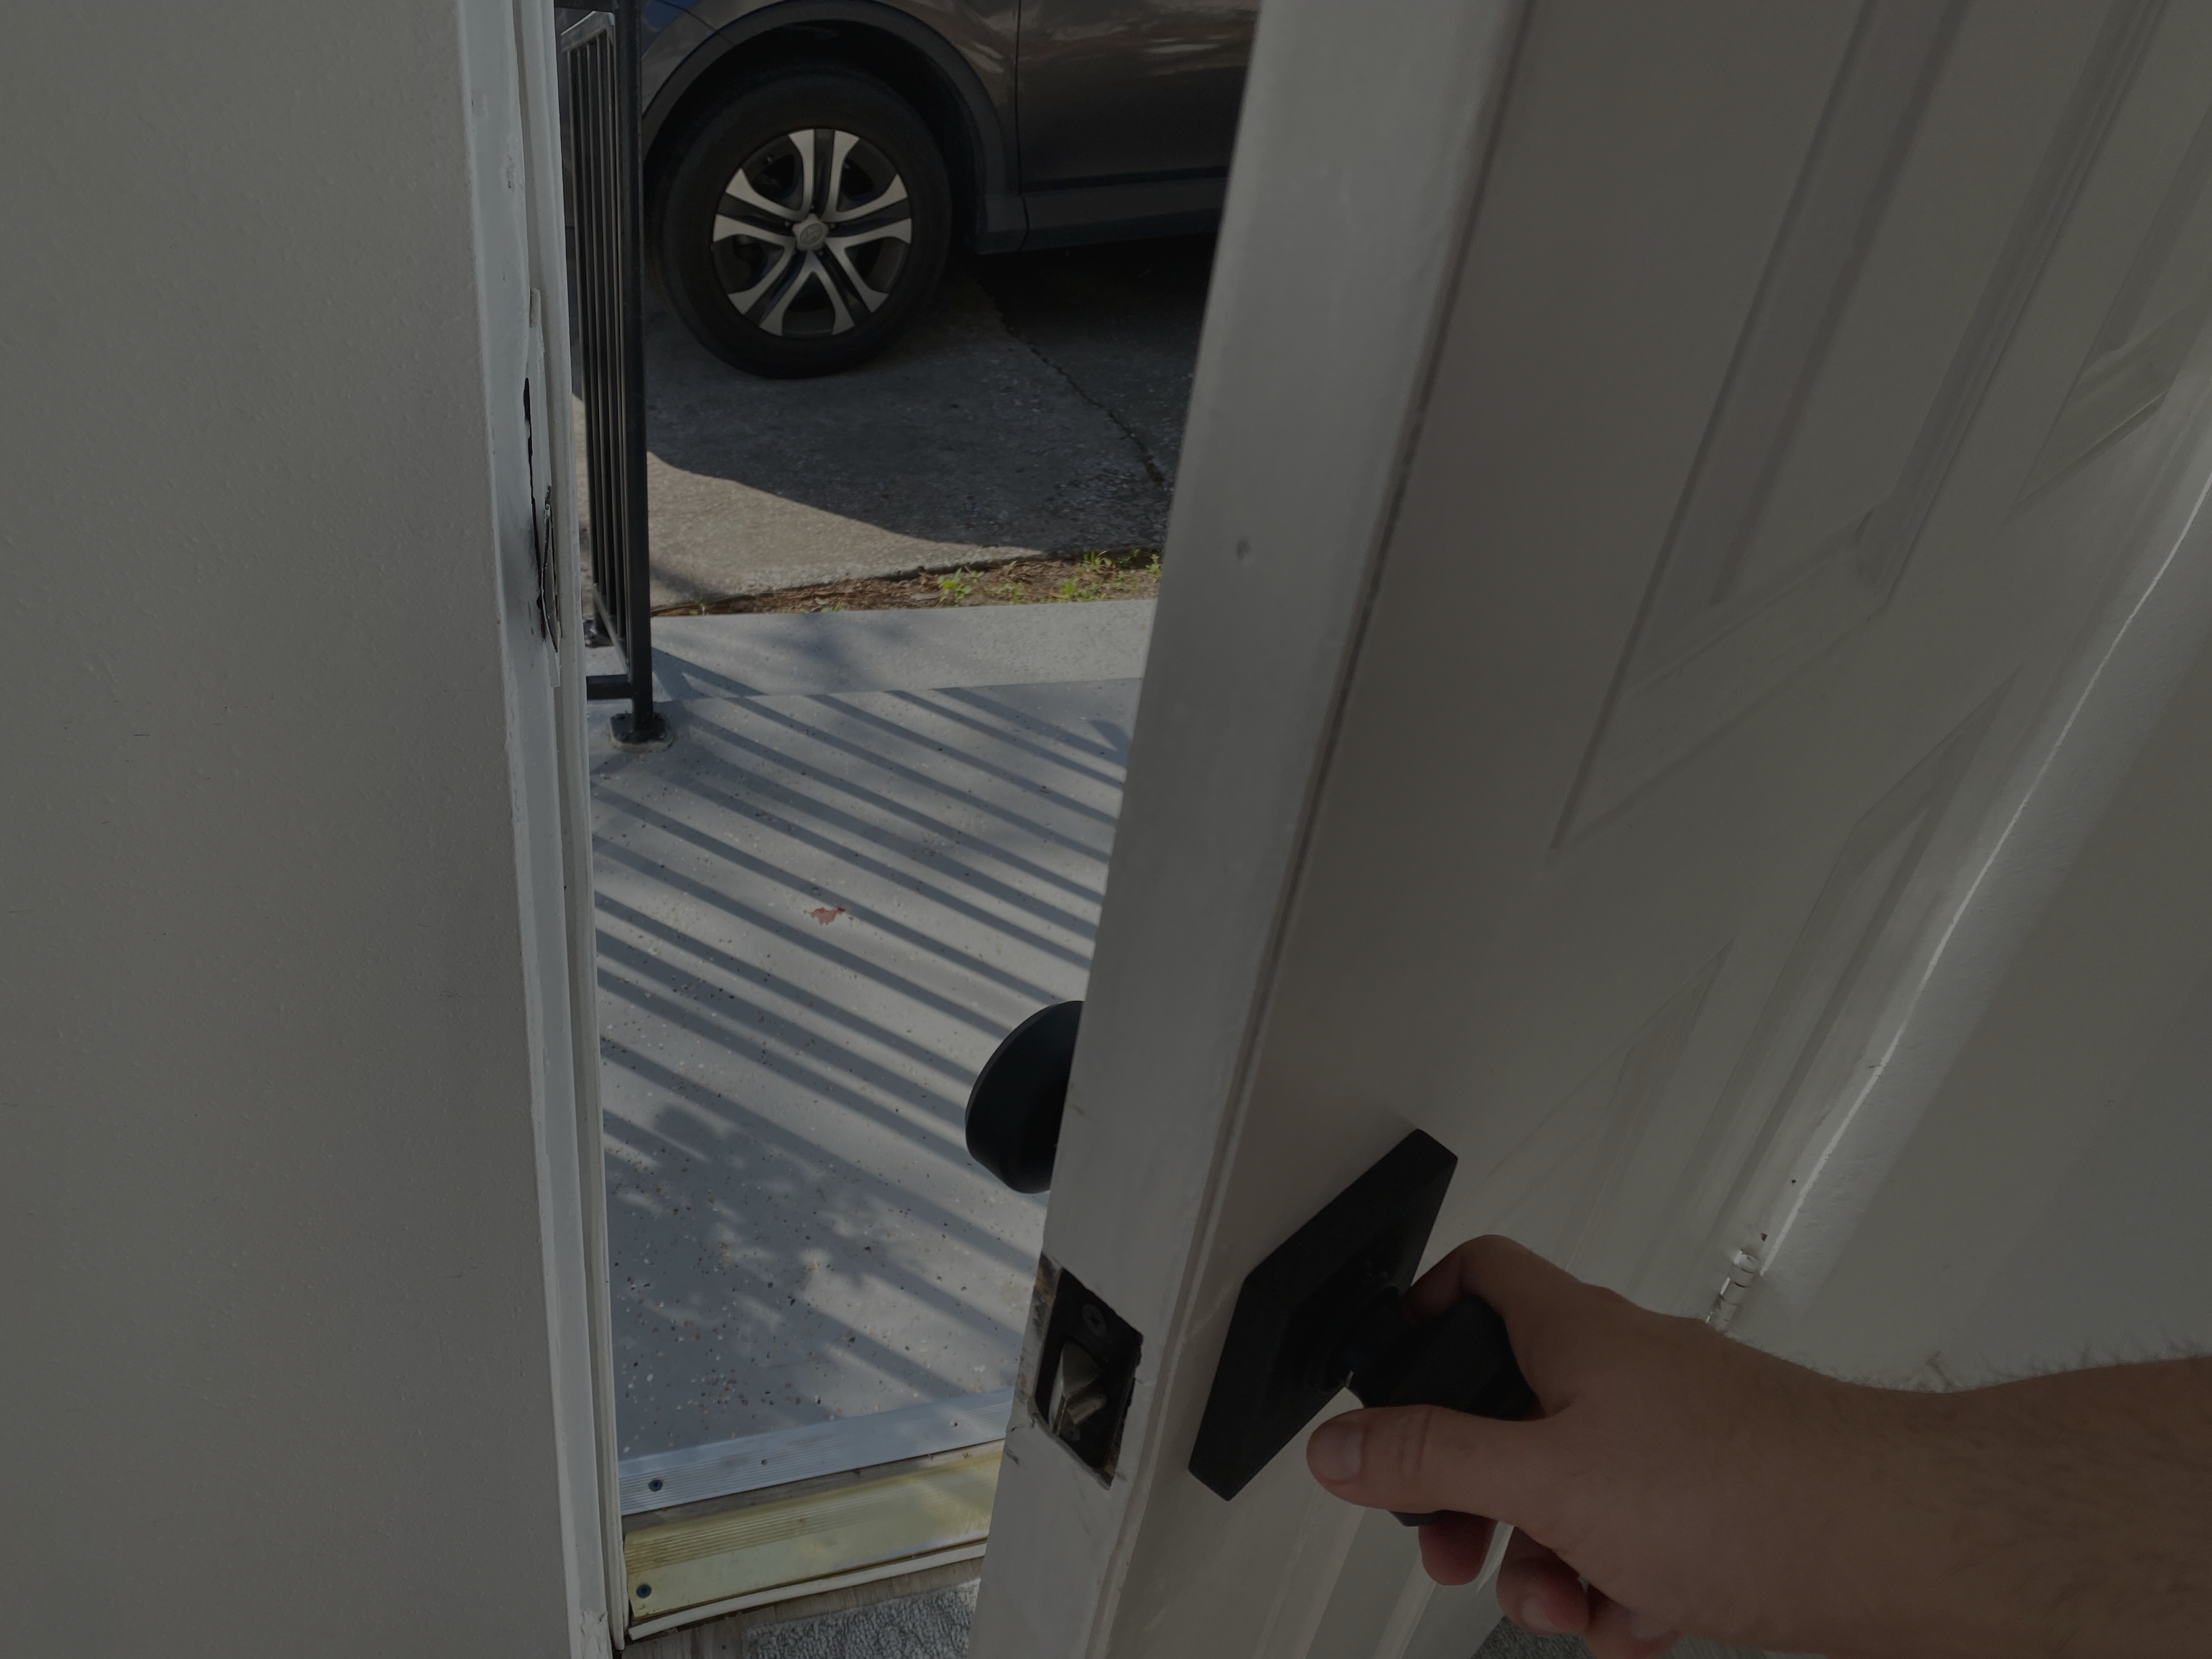
Weatherstripping is an essential part of your home’s insulation system. It helps to seal gaps around doors and windows, preventing drafts and keeping your home more comfortable year-round. Over time, weatherstripping can become worn or damaged, which can compromise its effectiveness. In this article, we will explain how to replace the weatherstripping on a door.
Step 1: Choose the right weatherstripping
Before you begin replacing the weatherstripping on your door, you will need to choose the right type of weatherstripping for your needs. There are several different types of weatherstripping available, including adhesive-backed foam tape, V-strip, and metal or plastic weatherstripping. Each type has its own pros and cons, so it’s important to choose the right one for your specific needs.
Step 2: Remove the old weatherstripping
To remove the old weatherstripping, start at one end of the door and carefully peel back the old weatherstripping. You may need to use a putty knife or scraper to remove any stubborn adhesive residue.
Step 3: Clean the door
Once the old weatherstripping has been removed, you should clean the door thoroughly. Use a mild detergent and water to clean any dirt or grime from the surface of the door. Make sure the surface is completely dry before moving on to the next step.
Step 4: Measure and cut the new weatherstripping
Measure the length of the door frame where the weatherstripping will be installed. Cut the new weatherstripping to the appropriate length using a pair of scissors or a utility knife. Be sure to follow the manufacturer’s instructions for cutting and installing the weatherstripping.
Step 5: Install the new weatherstripping
Starting at one end of the door frame, press the weatherstripping into place. Use a firm, even pressure to ensure a secure bond. Continue installing the weatherstripping around the entire door frame, making sure to overlap the ends of the weatherstripping at the corners.
Step 6: Check for gaps
Once the new weatherstripping is installed, check for any gaps or areas where the weatherstripping may not be sealing properly. If you find any gaps, you can use a caulking gun to apply a small bead of caulk along the edge of the weatherstripping to fill in the gap.
In conclusion, replacing weatherstripping on a door is a simple and effective way to improve the insulation of your home and reduce drafts. By following these simple steps, you can replace weatherstripping on a door quickly and easily. It’s important to choose the right type of weatherstripping for your specific needs and to ensure a tight, secure bond when installing the weatherstripping. Regular maintenance of your weatherstripping can help keep your home more comfortable year-round and save you money on energy bills.

